How to Make Edits with Elementor
Elementor is a powerful WordPress page builder that allows you to create stunning websites without needing to code. This guide will walk you through the basics of making edits with Elementor.
Step 1: Create or Edit a Page with Elementor
Creating a New Page
- From your WordPress dashboard, go to Pages > Add New.
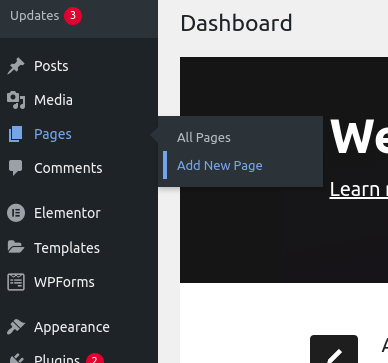
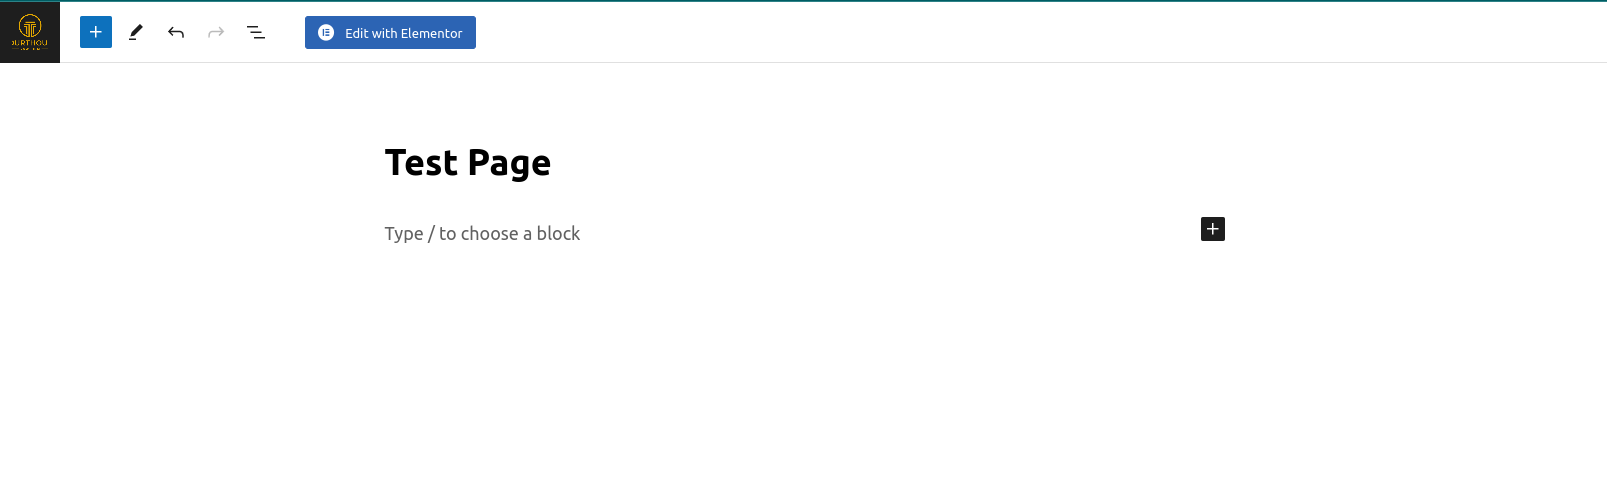
- Give your page a title and click on the Edit with Elementor button.
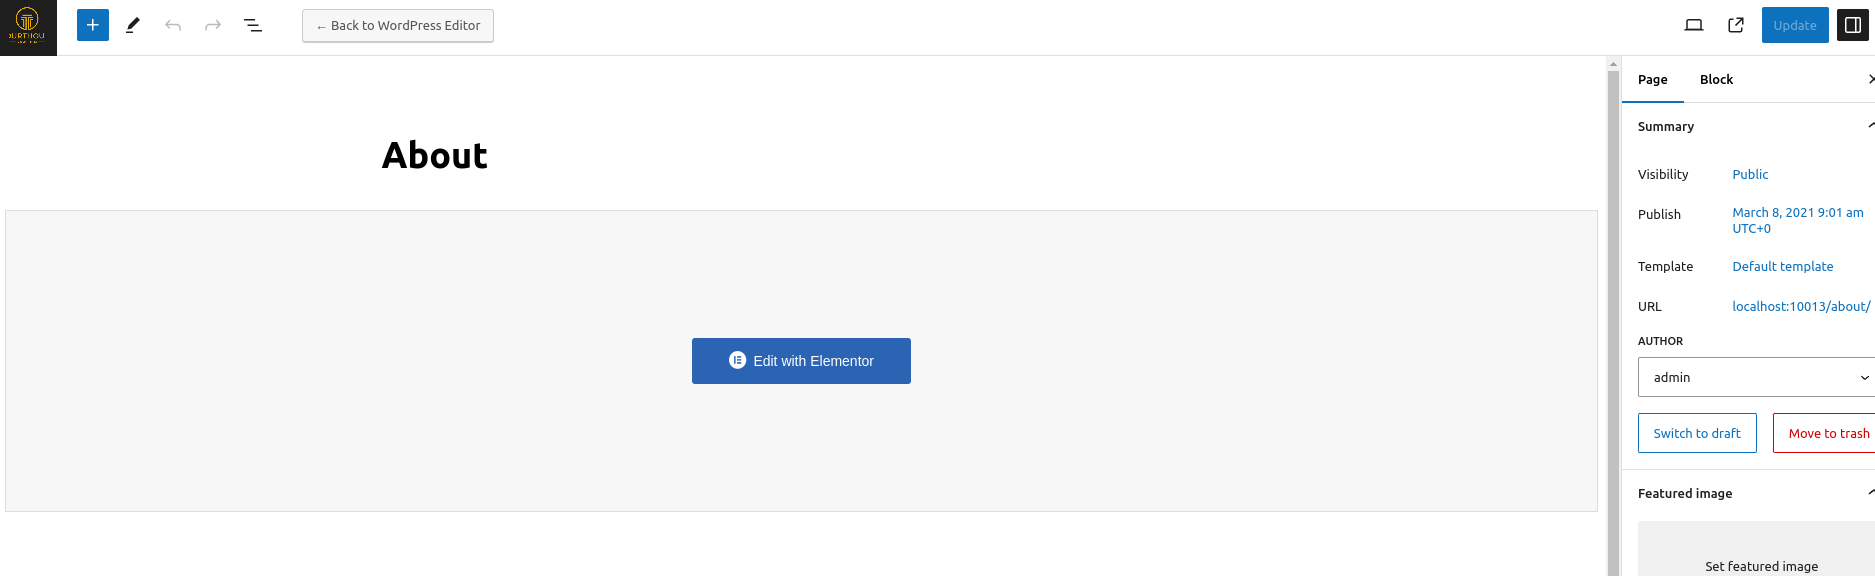
Editing an Existing Page
-
From your WordPress dashboard, go to Pages.
-
Find the page you want to edit and click on Edit.

- Click on the Edit with Elementor button.
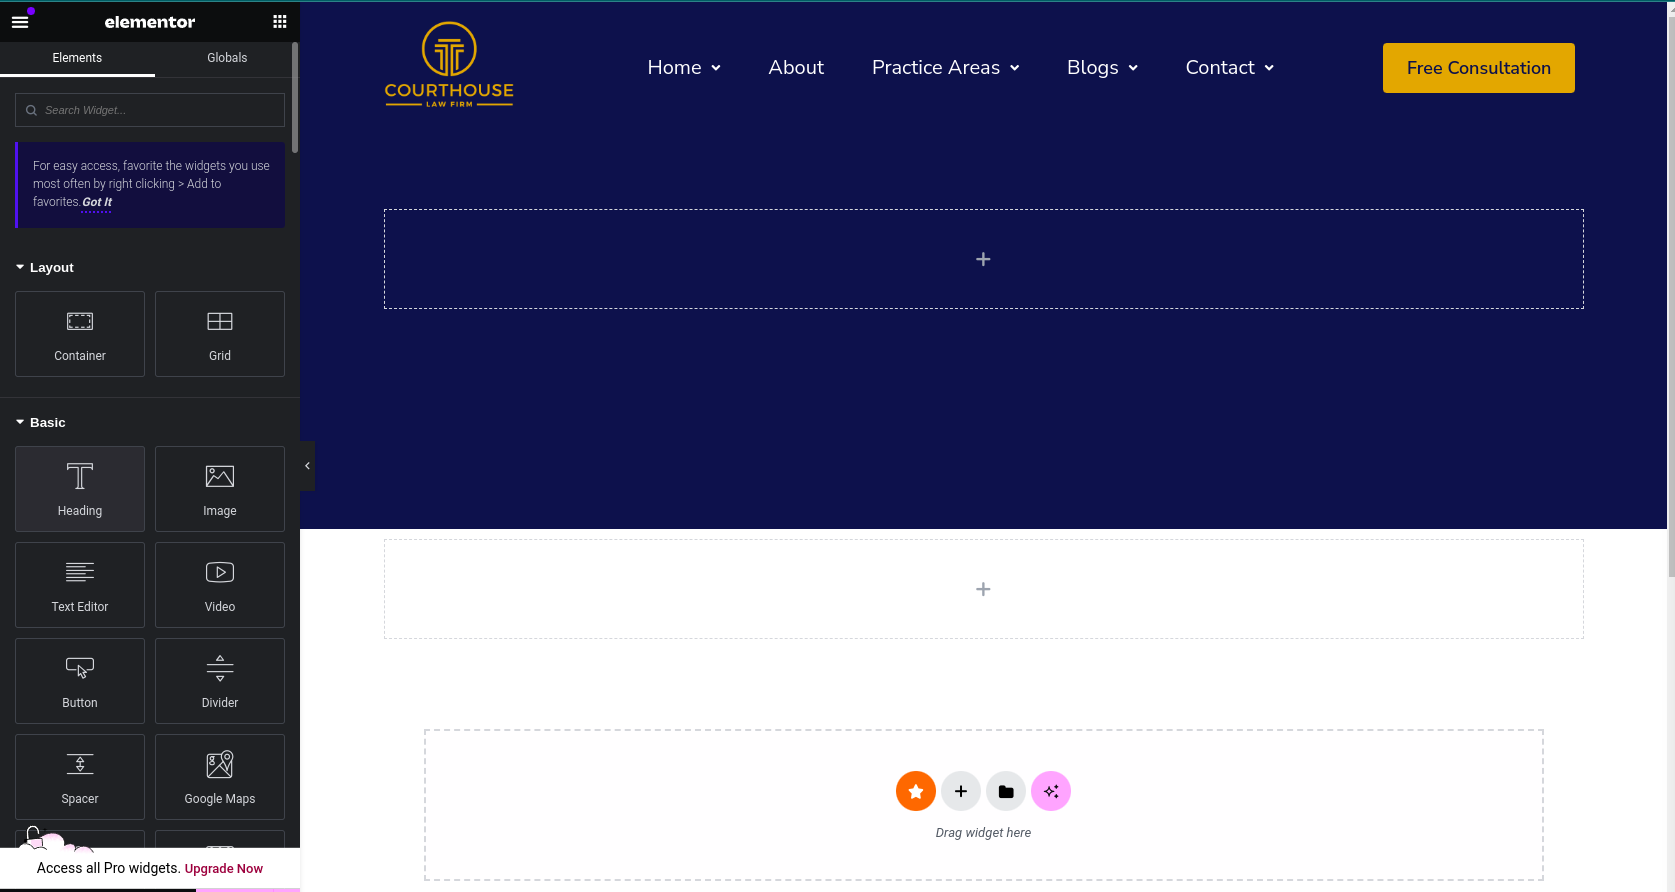
Step 2: Using the Elementor Editor
The Elementor editor is divided into two main sections: the Widgets Panel on the left and the Editing Area on the right.
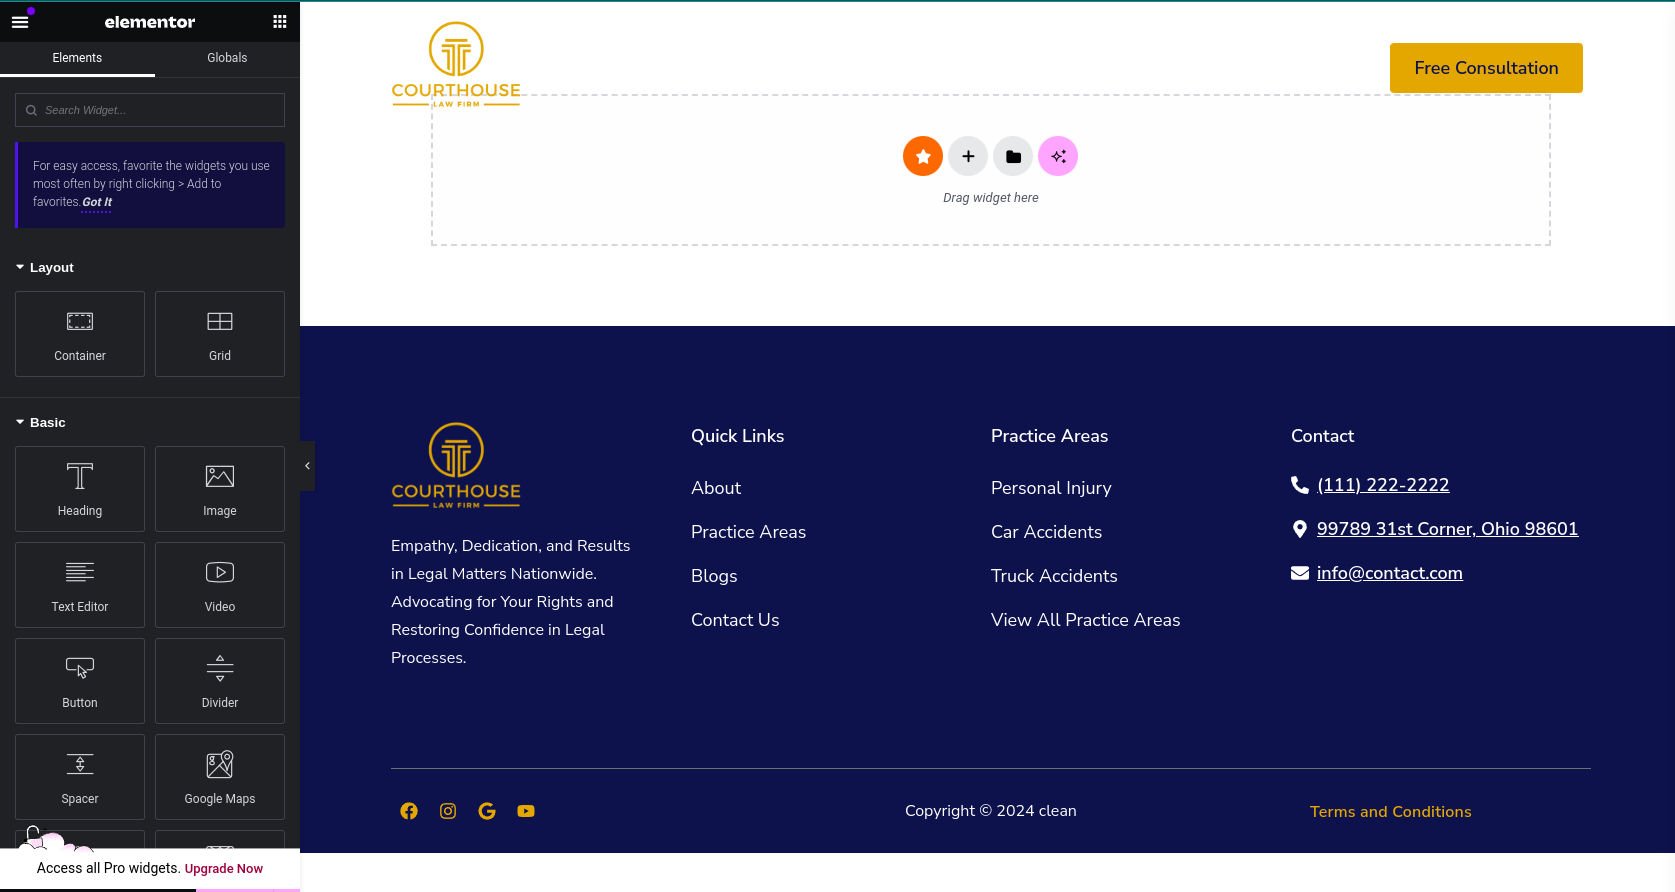
Adding Widgets
- Click on the + button in the Widgets Panel to open the widgets library.
- Browse or search for the widget you want to add.
- Click on the widget to add it to your page.
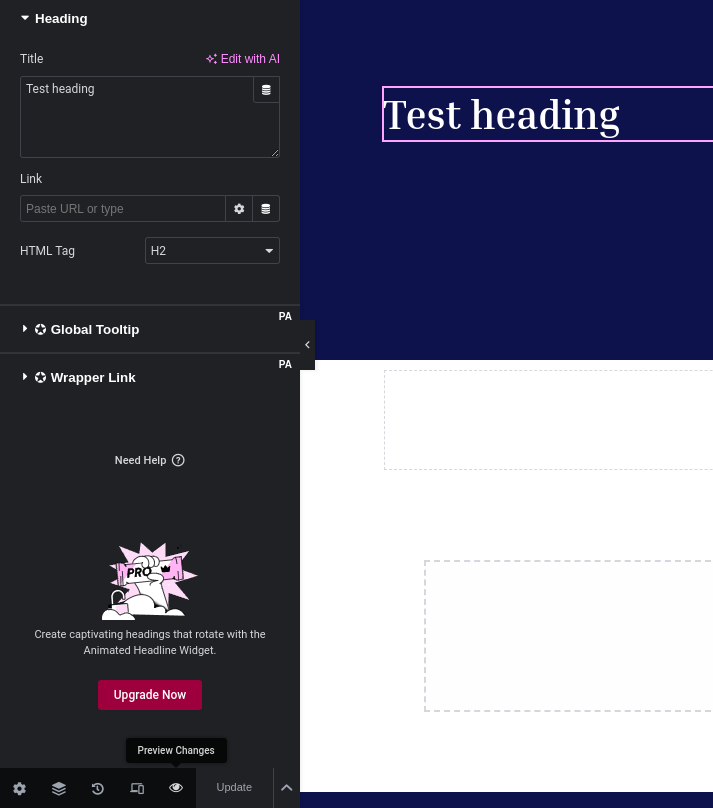
Editing Widgets
- Click on a widget in the Editing Area to select it.
- Use the Edit Widget panel on the left to change the widget's settings.
Step 3: Saving Your Changes
- Click on the Update button in the bottom-left corner of the screen to save your changes.
- Click Update again in the WordPress editor to publish your page.

Step 4: Previewing Your Page
- After publishing, click on the Preview button in the Elementor editor.
- Use the preview mode to see how your page looks on different devices.
Additional Tips
- Use Elementor Templates: Elementor offers a wide range of templates that you can use as a starting point for your pages.
- Customize Your Site: Use the Site Settings in Elementor to customize your site's global settings, such as colors, typography, and layout.
- Learn More: Elementor's official documentation (opens in a new tab) is a great resource for learning more about its features and capabilities.
By following these steps, you'll be able to make edits to your WordPress site using Elementor. Happy building!